Ceiling fans are used for the purpose of cooling the room temperature. They are mainly used to keep the room temperature cool and comfortable, as well as for ventilation purposes.
But the question is whether you can mount a ceiling fan without downrod? If yes, then how? As we all know that mounting a ceiling fan without downrod is quite easy, if you have the right knowledge and skill then you can do it in no time. So, let us see some of the best tips to get you started. Tips for mounting a ceiling fan without downrod.
Also Read: How to wire a ceiling fan with 3 wires
Can You Mount a Ceiling Fan Without Downrod
Yes, The ceiling fan’s downrod can be removed and replaced with a metal bracket. To do this, you will need to purchase a fan that does not have a downrod. Flush mount ceiling fans will have a metal bracket on the back of the fixture and instructions on how to remove and replace the fan.
If you have a ceiling height of seven and a half feet or less, a flush-mounted ceiling fan is the right choice for you. As a simple rule of thumb, a flush mount ceiling fan is appropriate if your ceiling is seven and a half feet or less
Are ceiling fan downrods universal?
It is not recommended that ceiling fans with downrods be treated as universal or interchangeable. But if you do have two downrods, the best way to ensure a proper fit is to purchase a downrod that is from the same manufacturer as your ceiling fan.
Also Read: Benefits of Flush Mount Ceiling Fans
How to Install a Ceiling Fan Without a Down Rod
Installing a ceiling fan without a down rod is a suitable option when you have a low ceiling or prefer a flush-mount installation. This guide provides detailed instructions on how to install a ceiling fan without a down rod, ensuring a safe and efficient installation process.
Please note that the instructions provided below are general guidelines. It’s crucial to consult the specific installation instructions provided by the manufacturer of your ceiling fan, as different models may have slight variations in the installation process.
Turn off the power
Begin by locating the circuit breaker that controls the electricity to the room where you’ll be installing the fan. Switch off the power to ensure your safety while working. Use a voltage tester to verify that the power is indeed off before proceeding with the installation.
Also Read: How to connect the blue wire on a ceiling fan
Prepare the fan
Unpack the ceiling fan and lay out all the components. Take the time to familiarize yourself with each part and ensure that you have all the necessary pieces. Additionally, carefully read through the installation instructions provided by the manufacturer to understand the specific steps and requirements for your particular fan model.
Remove the existing fixture
If there is an existing light fixture in the desired location, you’ll need to remove it before installing the ceiling fan. Start by turning the fixture counterclockwise to loosen it from the ceiling. Once it is loose, disconnect the electrical connections by removing the wire nuts that secure the wires. Be sure to support the electrical wires to prevent them from hanging freely.
Also Read: Best Ceiling Fan Direction for Summer and Winter
Install the mounting bracket
Most ceiling fans come with a mounting bracket that attaches to the electrical box in the ceiling. Begin by removing any existing bracket or support hardware from the electrical box. Then, attach the new mounting bracket according to the manufacturer’s instructions. The bracket should be secured tightly to the electrical box to ensure stability and safety.
Connect the wiring
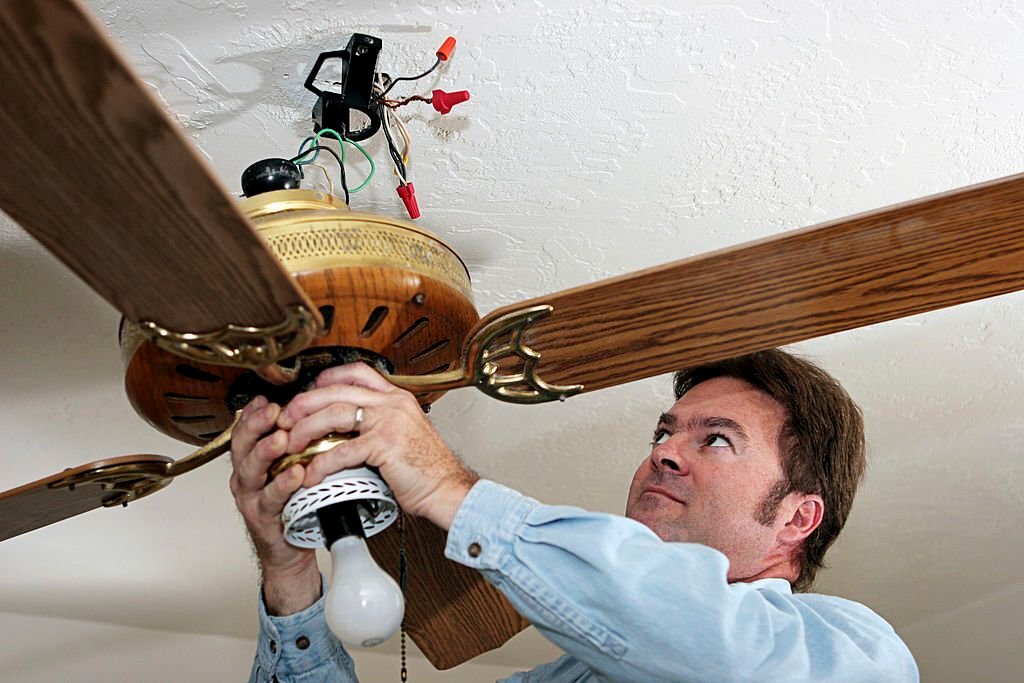
Identify the electrical wires coming from the ceiling. Typically, you will find a black (hot) wire, a white (neutral) wire, and a green or copper (ground) wire. Match the wires from the fan to the corresponding wires from the ceiling. To connect them, strip about 3/4 inch of insulation from the ends of the wires, twist them together, and secure them using wire nuts. Make sure the connections are secure and properly insulated. Refer to the specific instructions provided by the manufacturer to determine the correct wire connections for your fan model.
Also Read: Wiring a Ceiling Fan with 4 Wires
Attach the fan motor
Lift the fan motor and align it with the mounting bracket. Depending on the design of your fan, you may need to feed the wires through a central opening in the bracket before aligning the motor. Once aligned, secure the fan motor to the bracket using the screws provided. Follow the manufacturer’s instructions for the specific screw placement and tightening requirements. Ensure that the motor is stable and securely attached to the bracket.
Install the fan blades
Attach the fan blades to the motor assembly according to the manufacturer’s instructions. Typically, the blades will attach using screws and brackets provided with the fan. Ensure that each blade is properly aligned and balanced. Use a screwdriver to tighten the screws securely, but avoid over-tightening, as it may affect the balance and operation of the fan.
Attach any additional components
If your fan includes additional components such as light kits or remote control receivers, follow the manufacturer’s instructions to install them at this stage. Each component may have specific installation requirements, so carefully read the instructions provided.
Also Read: Best Garage Ceiling Fans
Test the fan
Before restoring power to the room, double-check all the connections to ensure they are secure and properly insulated. Once you are confident that everything is correctly installed, turn on the power from the circuit breaker. Test the fan at different speeds to ensure that it operates smoothly and without any issues. Verify that all the controls, such as the pull chains orremote control, are functioning correctly.
Remember, it is important to consult the specific installation instructions provided by the manufacturer of your ceiling fan. They will provide detailed information and guidance tailored to your particular model. Following the manufacturer’s instructions ensures that you install the ceiling fan correctly and adhere to any warranty or safety requirements.
Additionally, it is advisable to seek professional assistance if you are unsure about any step or aspect of the installation process. Professional electricians or experienced contractors can provide valuable expertise and ensure a safe and efficient installation of your ceiling fan without a down rod.
Also Read: Best Belt Driven Ceiling Fans
What does flush mount ceiling fan mean?
A flush mount ceiling fan is a ceiling fan that is mounted directly to the ceiling. This type of fan uses a light fixture. There are two types of fixtures for ceiling fans. The standard fixture is screwed directly into the ceiling. The flush mount ceiling fan can be installed with or without the standard fixture.
A flush mount ceiling fan does not use downrod to install a ceiling fan. It is an ideal fan for lower hight ceilings.
Can all ceiling fans be flush mounted?
All ceiling fans can be flush mounted. The mounting holes are different sizes. All fan manufacturers use the same hole sizes. If you buy a fan and it is not compatible with the ceiling, it is usually not your fault. The fan’s manufacturer usually includes a sticker on the back of the fan to tell you how big the mounting holes are.
Also Read: Best Flush Mount Ceiling Fans
Conclusion
So, this is all about the tips which will help you to mount a ceiling fan without downrod. These tips are very easy to use and the only thing that you need to do is to follow the instructions properly. Don’t try to cut the hole manually as it can be dangerous for your health.
If you like our post on “Can You Mount A Ceiling Fan Without Downrod?”, then don’t forget to share it with your friends and family members. You can also comment below if you have any doubts or queries.